Liberator FE
I work for Caplin Systems who have recently released Liberator FE which is the Free Edition of their real time Comet server product.
Liberator is the most performant and fully-featured server currently available for streaming real-time data to web pages. The technology behind many of the world's leading financial trading portals, it is now available FREE for evaluation and non-commercial use.
In this post I will detail my experiences when installing Liberator FE on Windows with an aim to being able to create a RIA Client that consumes data from a Capin DataSource.
Liberator Free Edition comes with a comprehensive client library for integrating with Ajax or Flex, RIAs, a Java server library for connecting to sources of data and building application logic, and full documentation.
How to Install Liberator FE on Windows
Liberator FE will not run directly on Windows. The only way to acheive this in any way if you don't have a Linux server handy is to run it on a Virtual Machine. The following sections explain how to get the pieces of software that you need and how to install Liberator FE on Windows.
VM Player
VMWare provide a free VMPlayer to allow you to run virtual machine images. Download it here. Alternatively you can use VMServer. Both are free to use but make sure you read through the licence agreement.
Installing the player is as simple as double clicking on the downloaded file and following the installation wizard.
Download Virtual Machine Image
Once you have the player downloaded and installed you will need a Linux Virtual Machine image so that you can install Liberator FE.
There are a variety of places to get a VMWare image. I found a Linux CentOS Image via the Virtual Appliance Marketplace.
Run the Virtual Machine Image
The VM Image will most probably be in a compressed archive so extract it. The image can the be opened using the VMPlayer by selecting the Open option and navigating to the directory with the VM Image and double clicking on the image file that will be visible.
There will most probably be some operating system setup steps to go through but using the Centos image that I chose this took less than 2 minutes.
At this point it's probably worth taking a note of the IP Address of the VM is for the Liberator FE registration. To do this enter ifconfig eth0. If that doesn't work you might need to enter the full path the the /sbin/ifconfig eth0.
Download Liberator FE
Open up a web browser in the VMWare Player (Guest OS) and go to http://www.freeliberator.com, fill in the details (remember to use the IP Address we got above) and download.
Install Liberator FE
Move the downloaded Liberator FE installer to an install location and run the script which will install to a new LiberatorFE folder:
./LiberatorFE-4.4.12-1-i686-pc-linux-gnu.sh
When prompted enter the licence information that you used when you registered on http://www.freeliberator.com. You will also be asked for port information. Since this is a clean OS install you should be able to use the default ports so just hit enter when prompted to choose ports. The default HTTP port is 8080 which we'll be using in our next step.
Start the Liberator
Navigate to the /LiberatorFE/etc/ directory and run ./rttpd start.
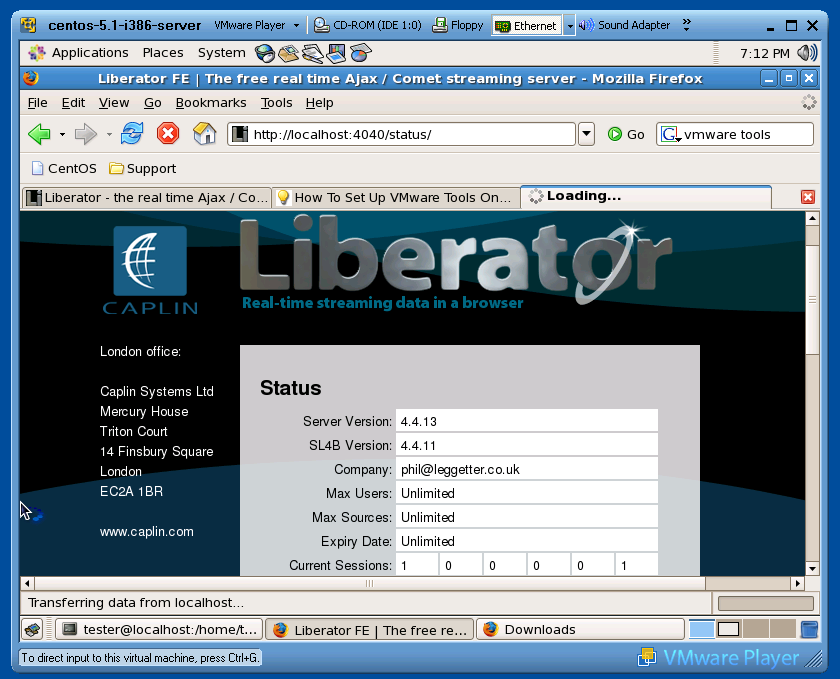
To ensure that the Liberator has started up open up a web browser within the VM and navigate to http://localhost:8080 (substitute 8080 for your HTTP port if you didn't choose the default. I chose 4040 just to be different). You should see the Liberator FE Status Page which means you have successfully installed Liberator FE on Windows.
